

A knife or fork may look simple on the table, but its final surface is the result of tightly controlled abrasive engineering. Cutlery polishing determines far more than shine: it affects corrosion resistance, food release, hygiene, edge feel, and long-term durability. In premium production, finishing can take 5 to 15 minutes per piece and may represent up to 30% of total manufacturing time, making it a major cost and quality driver. This article explains how raw steel blanks become kitchen-ready tools through grinding, deburring, polishing, buffing, and honing, while highlighting the surface roughness targets, process controls, and automation choices that separate ordinary cutlery from high-performance finished products.
How Cutlery Polishing Creates Kitchen-Ready Products
The transformation of a raw, stamped, or forged steel blank into a functional and aesthetically pleasing piece of cutlery relies heavily on the polishing process. In industrial manufacturing, cutlery polishing is not merely a cosmetic step; it is a critical surface engineering procedure that dictates the final product's corrosion resistance, cutting efficiency, and hygienic safety. Polishing operations can account for up to 30% of the total manufacturing time (typically 5 to 15 minutes per piece) for high-end kitchen knives and flatware, making it a highly scrutinized phase in production planning.
By systematically reducing surface roughness through successive abrasive stages, manufacturers eliminate micro-fissures and oxidation layers left behind by heat treatment. The resulting smooth surface directly influences how the cutlery interacts with food, environmental moisture, and mechanical wear over its lifecycle.
Why polishing affects appearance and performance
The surface finish of cutlery governs both its visual appeal and its functional performance in culinary environments. A highly polished blade or utensil minimizes friction, allowing knives to glide through dense foods with less resistance. Furthermore, a smooth surface significantly reduces the microscopic crevices where moisture, acidic food juices, and bacteria can accumulate.
From a metallurgical standpoint, minimizing surface roughness improves the passive oxide layer formation on stainless steel. Premium cutlery lines often target a surface roughness (Ra) of 0.1 to 0.2 micrometers. At this threshold, the material exhibits superior rust resistance (often passing 48 to 96-hour neutral salt spray tests) compared to roughly finished counterparts, directly extending the lifespan of the product and maintaining its structural integrity under rigorous daily use.
How grinding, deburring, polishing, buffing, and honing differ
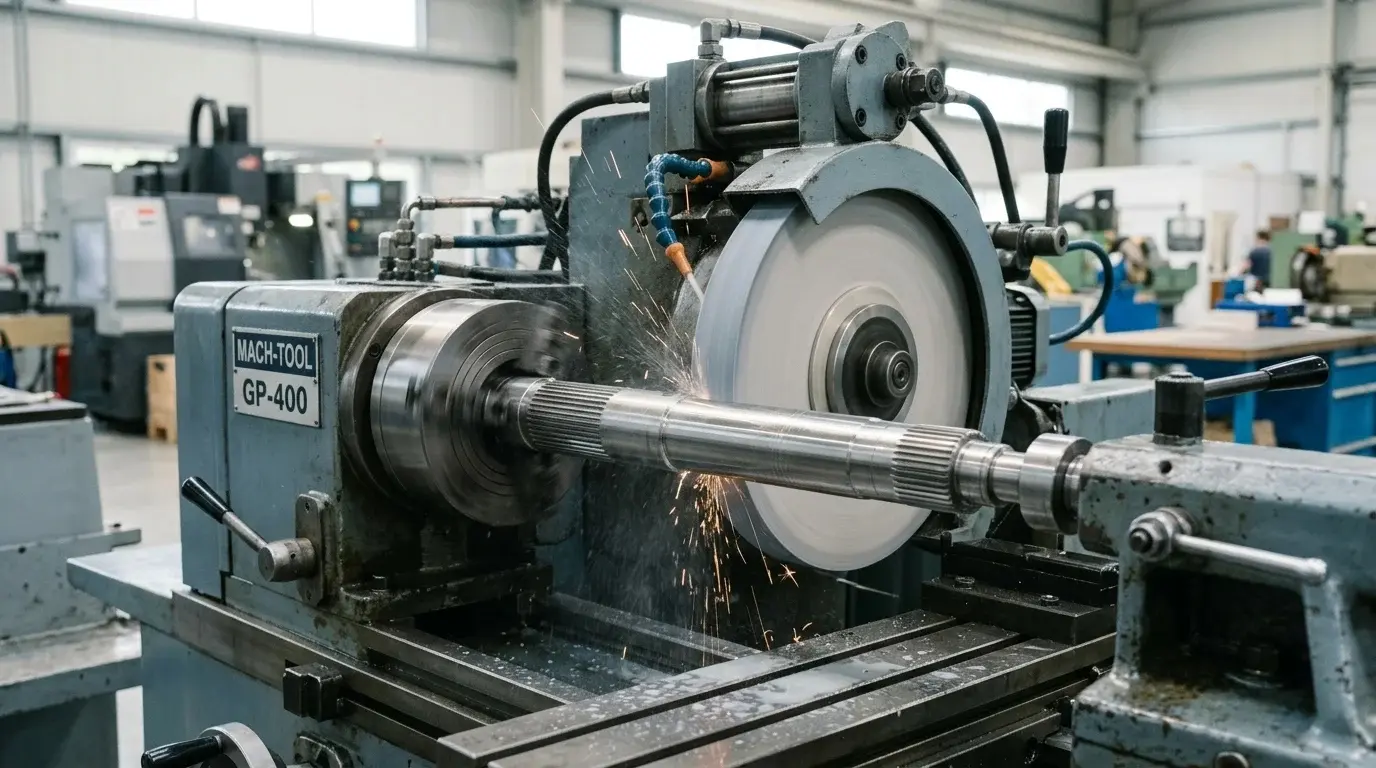
Achieving a kitchen-ready edge and finish requires a sequenced application of distinct mechanical processes. Grinding is the initial heavy-duty step, typically utilizing coarse abrasives between 60 and 120 grit to remove substantial material, shape the blade profile, and establish the primary bevel. Following grinding, deburring is employed to strip away the wire edge and any sharp metallic burrs left on the perimeter of the blank.
Polishing then takes over, using intermediate abrasives (200 to 800 grit) to smooth out the deep scratches imparted by the grinding wheel. Buffing follows as a specialized finishing stage that utilizes cloth or sisal wheels loaded with abrasive compounds (up to 3000 grit equivalent) to generate a high-gloss or mirror finish. Finally, honing is applied exclusively to the cutting edge, utilizing fine stones or strops to set the final cutting angle, which is typically engineered to precise tolerances of 12 to 15 degrees per side (±0.5 degrees) for standard kitchen knives.
Key Cutlery Polishing Process Steps
Standardizing the cutlery polishing workflow is essential for maintaining batch-to-batch consistency and meeting stringent quality control metrics. The process is a linear progression of surface refinement, where each step must perfectly prepare the metal for the subsequent abrasive action. Skipping a stage or rushing the preparation phase inevitably results in visible defects, such as ghosting or deep sub-surface scratches, that become glaringly apparent during the final buffing phase.
How blanks are prepared before polishing
Before any abrasive makes contact with the metal, raw blanks must undergo rigorous preparation. Following the forging and heat-treatment cycles, steel blanks are typically coated in a tough layer of scale and oxidation. Additionally, high-temperature processing can create a decarb (decarburization) layer on the surface, usually measuring between 0.1mm and 0.3mm deep, where carbon has been depleted.
Manufacturers prepare these blanks through chemical descaling, tumble deburring (which can take 2 to 4 hours per batch), or shot blasting. Degreasing is also mandatory at this stage, typically utilizing alkaline baths at 50°C to 60°C to remove quenching oils and industrial lubricants. If these residues are not fully cleaned, they can quickly load and glaze the abrasive belts used in the first grinding stage, reducing cutting efficiency and generating excessive heat that could ruin the blade's temper.
Which abrasive stages control finish and edge geometry
The core of the polishing process relies on a carefully calibrated sequence of abrasive belts and wheels. The progression controls both the aesthetic finish and the precision of the edge geometry. Operating with incorrect contact pressure or skipping a grit size leads to uneven surface tension and geometric distortion.
| Abrasive Stage | Typical Grit Range | Target Surface Roughness (Ra) | Primary Objective |
|---|---|---|---|
| Rough Grinding | 60 - 120 | 2.5 - 5.0 µm | Stock removal and profile shaping |
| Intermediate Polishing | 240 - 400 | 0.8 - 1.5 µm | Scratch refinement and surface leveling |
| Fine Polishing | 600 - 800 | 0.3 - 0.6 µm | Pre-buffing preparation, satin finish |
| Buffing / Color | 1000 - 3000+ | < 0.1 µm | Mirror finish generation |
For edge geometry, rigid platens are used behind the abrasive belts to ensure crisp, flat bevels, while slack-belt configurations are utilized for convex edge profiles. The transition from one abrasive stage to the next must reduce the Ra value systematically, ensuring that the final edge geometry remains perfectly aligned with the manufacturer's specified cutting angle.
How washing, drying, and inspection complete the process
The mechanical polishing phase leaves the cutlery coated in abrasive dust, metallic micro-particles, and waxy buffing compounds. To render the product kitchen-ready, it must pass through an intensive cleaning cycle. Industrial ultrasonic washing lines, operating at frequencies of 28 kHz to 40 kHz and temperatures between 60°C and 70°C for 3 to 5-minute cycles, are standard for stripping away baked-on polishing residues without damaging the metal.
Following the wash, high-velocity hot air drying prevents water spots and flash rusting. The process concludes with a rigorous visual and tactile inspection. Quality control personnel examine the polished surfaces under high-intensity lighting—often exceeding 1000 lux—to identify micro-scratches, uneven bevels, or residual compound. Only after passing this final gate is the cutlery approved for handle assembly or final packaging.
Cutlery Polishing Methods and Specifications
The choice of polishing methodology dictates not only the final cost of the cutlery but also its dimensional consistency and production throughput. As the industry evolves, manufacturers must balance the artisanal flexibility of manual polishing with the high-speed precision of automated systems. Defining clear specifications is crucial to ensuring that the chosen method yields the desired market positioning, from mass-market flatware to premium, chef-grade knives.
How manual, semi-automatic, and automatic polishing compare
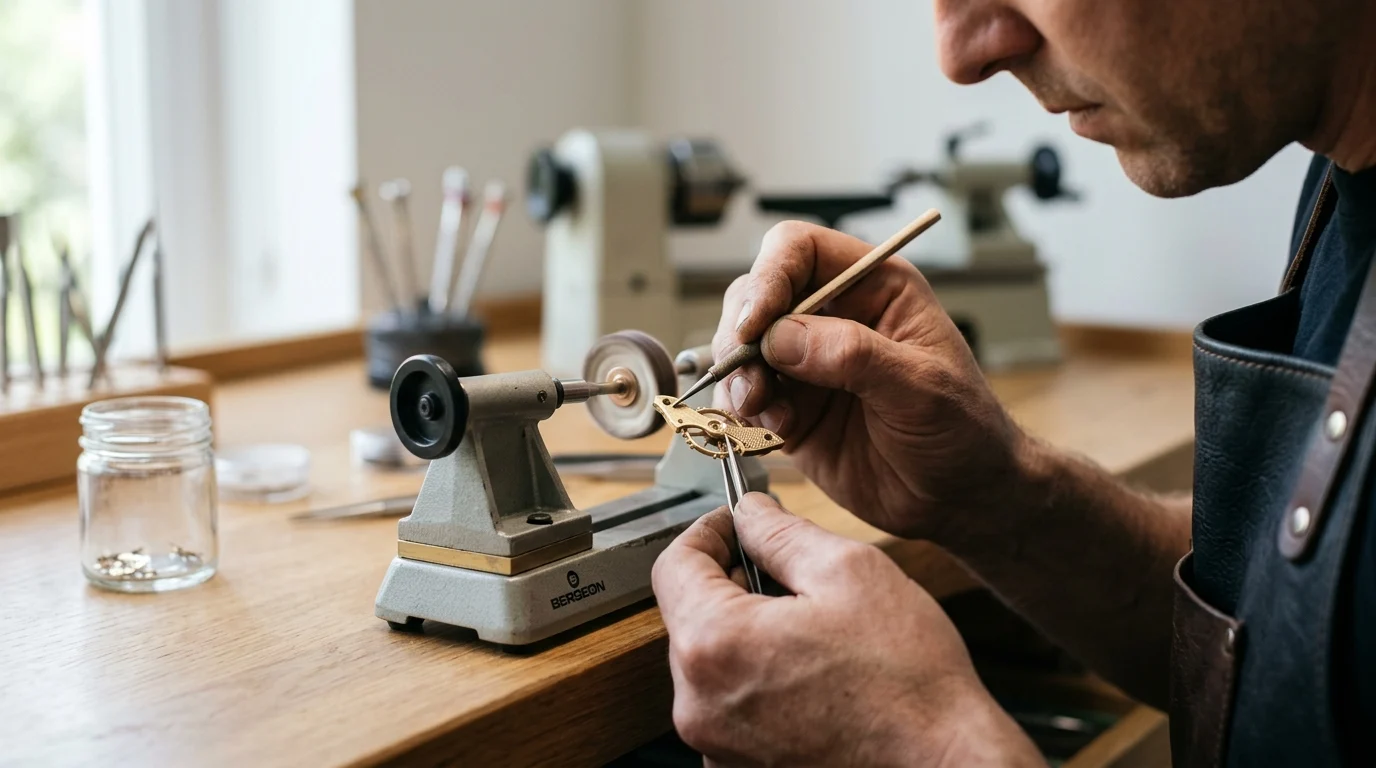
Manual polishing remains prevalent in high-end, custom, or complex cutlery manufacturing. It offers unmatched flexibility, allowing skilled operators to adjust pressure and angle dynamically. However, throughput is inherently limited, typically yielding 50 to 100 pieces per hour per worker, and consistency relies entirely on human skill.
Semi-automatic polishing introduces CNC-guided fixtures that move the blank against stationary abrasive wheels, reducing operator fatigue and increasing output to 300-500 pieces per hour. Fully automatic systems, utilizing multi-axis robotic arms and continuous-feed carousels, represent the pinnacle of high-volume production. These systems can process upwards of 1,000 pieces per hour with near-perfect repeatability, though they require substantial capital investment and complex programming for each new blade profile.
| Polishing Method | Typical Throughput (pcs/hr) | Setup/Changeover Time | Typical MOQ | Capital Investment Tier |
|---|---|---|---|---|
| Manual | 50 - 100 | < 15 mins | 100 - 500 | Low (< $5,000/station) |
| Semi-Automatic | 300 - 500 | 1 - 2 hours | 2,000 - 5,000 | Medium ($10k - $30k/machine) |
| Fully Automatic | 1,000+ | 4 - 8 hours | 10,000+ | High ($100k - $250k+/cell) |
Which factors determine finish consistency and throughput
Regardless of the automation level, several physical variables govern the consistency of the final finish. Wheel speed is a primary factor; polishing wheels typically operate between 1,500 and 3,000 RPM (achieving surface speeds of 25 to 40 meters per second). Too slow, and the abrasive fails to cut efficiently; too fast, and the localized heat can warp the blade or burn the steel, compromising its temper.
Contact pressure and compound feed rate are equally critical. Automated systems use load sensors to maintain constant pressure (typically 10 to 30 PSI) as the abrasive wheel wears down. In liquid compound systems, high-pressure spray guns must deliver precise micro-doses of abrasive slurry (e.g., 2 to 5 grams per minute) to the buffing wheel. Variations in this feed rate can lead to dry wheels that scratch the metal or over-saturated wheels that simply smear the compound without polishing.
Which surface finish metrics and defect limits matter
To eliminate subjectivity in quality control, manufacturers rely on quantifiable surface finish metrics. Profilometers are used to measure the Ra (Average Roughness) and Rz (Maximum Profile Height) of the blade. A standard commercial satin finish typically requires an Ra between 0.4 and 0.8 micrometers, while a flawless mirror polish demands an Ra of less than 0.05 micrometers.
Defect limits must also be clearly defined in the supplier agreement. For premium cutlery lines, the Maximum Allowable Defect Rate is often capped at 1% to 2% (frequently evaluated using AQL 1.5 for major defects and AQL 4.0 for minor defects). Common rejectable defects include "orange peel" (surface rippling caused by over-buffing), pitting, unblended grind lines, and asymmetrical edge bevels. Establishing these hard limits ensures that the polishing output meets the functional and aesthetic demands of the target market.
Quality, Compliance, and Documentation
In the global cutlery trade, aesthetic brilliance must be backed by rigorous quality assurance and regulatory compliance. The physical properties of the raw material dictate the polishing parameters, while international health and safety standards govern the chemicals and environments used during production. Adhering to guidelines published by recognized bodies, such as the ISO, ensures that the finished products are safe for consumer use and that manufacturing environments protect worker health.
How steel grade, heat treatment, and hardness affect polishing
The metallurgical composition and heat treatment of the steel profoundly impact its polishability. High-carbon stainless steels, such as 440C or VG-10, are typically hardened to 58-62 HRC (Rockwell Hardness Scale). These hard alloys resist abrasion, requiring the use of premium ceramic or diamond abrasives and increasing polishing time by 20% to 40% (adding 2 to 4 minutes per blade) compared to softer steels.
Conversely, standard austenitic stainless steels like 304 or 430, often used in flatware, sit much lower on the hardness scale (roughly 20-30 HRC). While they are faster to polish, they are more susceptible to deep scratching and require careful heat management to prevent warping. The grain structure dictated by the heat treatment also matters; a fine, evenly distributed carbide structure takes a higher, more uniform mirror polish than a coarse-grained steel.
Which food-contact and worker-safety requirements apply
Cutlery is a food-contact material, meaning the polishing process must adhere strictly to food safety regulations. All buffing compounds, greases, and abrasive slurries must be completely removed during the final wash. The finished surface must not leach heavy metals, such as lead (typically restricted to < 0.1 ppm) or cadmium, which are sometimes present in low-quality polishing media.
Worker safety is heavily regulated due to the hazardous nature of polishing dust. The mechanical abrasion of steel and polishing wheels generates fine particulate matter. Facilities must be equipped with industrial dust extraction and wet-scrubber systems designed to capture respirable particles below 5 microns in size, ensuring compliance with occupational exposure limits (e.g., OSHA's 5 mg/m³ limit for respirable dust). Failure to control this dust not only poses severe respiratory risks to workers but also creates a highly combustible environment.
How suppliers should document inspection results
Transparent documentation is the backbone of accountable manufacturing. Suppliers should provide comprehensive batch records that trace the cutlery from the raw blank stage through the final polish. This documentation proves that the agreed-upon procedures and quality checks were executed.
Key documents include surface roughness tester printouts, verifying that the Ra targets were met, and salt spray test results (e.g.
How Buyers Choose a Cutlery Polishing Strategy
Selecting a cutlery polishing strategy requires balancing capital investment, production volume, and target market standards. Procurement managers and manufacturers must evaluate whether to integrate finishing operations internally or rely on specialized contract polishers to achieve their desired product quality.
When in-house polishing is better than outsourcing
The decision to keep cutlery polishing in-house typically hinges on production scale and quality control requirements. In-house processing is advantageous when manufacturers produce high volumes of standardized flatware, as the initial capital expenditure for automated polishing lines is quickly amortized. Furthermore, brands producing premium or bespoke chef knives often retain polishing internally to maintain strict oversight over edge geometry and proprietary mirror finishes.
Conversely, outsourcing remains more viable for low-volume runs, seasonal production spikes, or when accessing highly specialized finishes without incurring heavy equipment costs.
Which cost drivers affect polishing decisions
Understanding the financial variables in cutlery polishing ensures accurate unit pricing and supply chain stability. The primary cost drivers include:
| Cost Driver | Impact on Polishing Strategy |
|---|---|
| Labor | Manual hand-polishing requires highly skilled artisans, significantly increasing per-unit costs compared to automated robotic cells. |
| Consumables | The consumption rate of abrasive belts, sisal wheels, and polishing compounds varies based on the steel's hardness (e.g., Rockwell C scale ratings). |
| Equipment Depreciation | High-end CNC polishing machines and robotic arms carry substantial depreciation costs, requiring consistent production volumes to justify the investment. |
| Quality Rejects | Inadequate polishing leads to surface defects, increasing scrap rates and rework expenses. |
What checklist aligns polishing specs with product goals
To ensure the final product meets market expectations, buyers should use a standardized checklist to define their cutlery polishing specifications before initiating production:
- Define Surface Roughness (Ra): Specify the exact Roughness Average (Ra) required. Premium culinary stainless steel often requires an Ra of less than 0.2 micrometers to prevent bacterial adhesion and ensure maximum corrosion resistance.
- Determine the Finish Type: Choose between satin, brushed, matte, or mirror finishes based on consumer aesthetics and scratch-visibility tolerance.
- Verify Edge Integrity: Ensure the chosen polishing strategy does not round off the cutting edge of knives or alter the dimensional tolerances of the blade bevel.
- Assess Regulatory Compliance: Confirm that polishing compounds are non-toxic, entirely removed during final washing, and that the finish meets international food-contact safety standards, such as those outlined in ISO 8442 for food preparation cutlery.
Key Takeaways
- Use a staged abrasive sequence because grinding, deburring, polishing, buffing, and honing each solve a different surface or edge-quality problem.
- Target an Ra range of 0.1 to 0.2 micrometers for premium stainless cutlery to improve hygiene, corrosion resistance, and surface durability.
- Plan polishing capacity carefully because high-end cutlery finishing can take 5 to 15 minutes per piece and up to 30% of total manufacturing time.
- Control edge honing separately from surface polishing, with many kitchen knives requiring a final angle of 12 to 15 degrees per side.
- Automated polishing systems can improve repeatability by standardizing contact pressure, abrasive progression, cycle time, and finishing angle.
Frequently Asked Questions
Why is cutlery polishing important beyond appearance?
Polishing reduces surface roughness, removes oxidation and micro-fissures, and improves corrosion resistance. A smoother blade or utensil also reduces friction, limits bacterial buildup, and helps stainless steel form a more protective passive layer.
What surface roughness is typical for premium cutlery?
High-end knives and flatware often target an Ra value of 0.1 to 0.2 micrometers. This smoothness supports better hygiene, rust resistance, and long-term durability in wet and acidic kitchen environments.
How is polishing different from grinding and buffing?
Grinding removes more material and shapes the profile using coarse abrasives. Polishing refines scratches with finer abrasives, while buffing uses wheels and compounds to create a high-gloss or mirror finish.
How long does industrial cutlery polishing take?
For high-end kitchen knives and flatware, polishing can account for up to 30% of total manufacturing time, often taking about 5 to 15 minutes per piece depending on finish requirements.
Does polishing affect knife sharpness?
Polishing improves blade surface smoothness and food release, but final sharpness comes mainly from honing. Honing sets the cutting angle, often around 12 to 15 degrees per side for kitchen knives.